Making Your Own Game Cards: Crafting, Printing and the Road to Your Own Card Game
It started with a rainy afternoon and index cards. By now we own a laminator, a corner rounder and three self-invented games. No regrets.
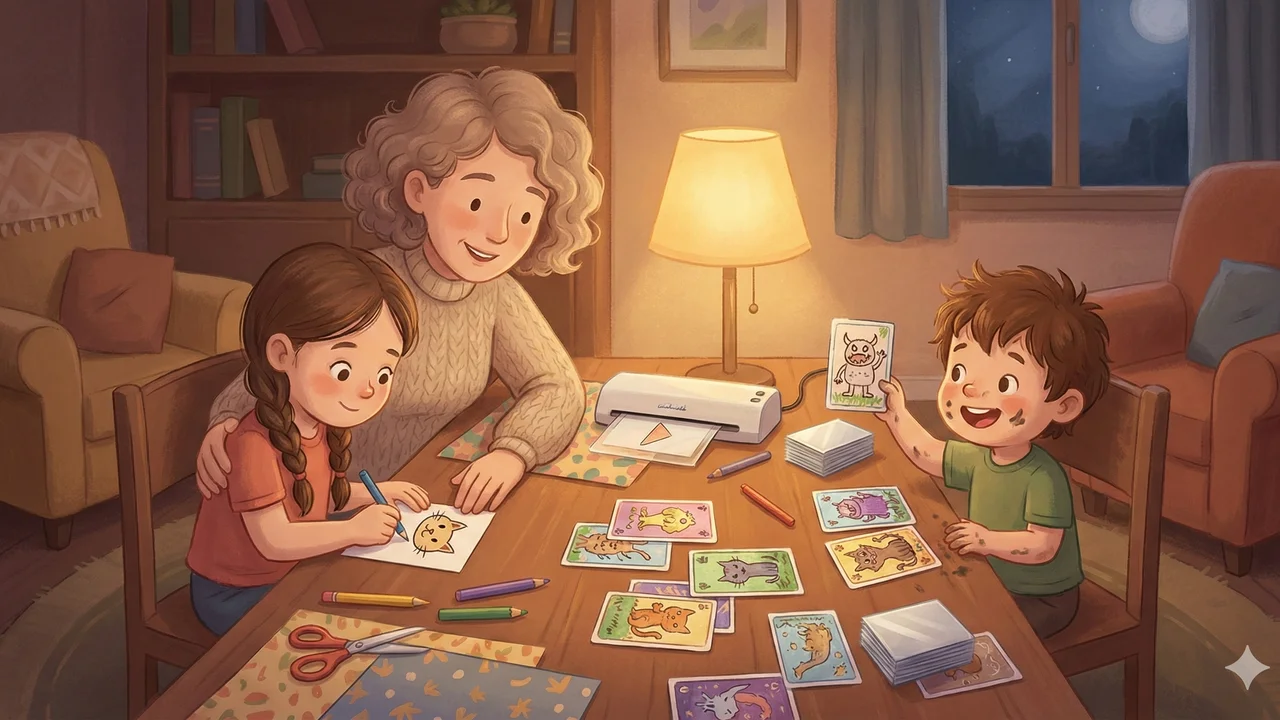
How it all started
It was a Saturday afternoon in February, nonstop rain outside, and Leni came out of the study with a pack of blank index cards. "Mom, can we invent a game?"
I said yes because I figured we'd draw on cards for ten minutes and that would be it. Three hours later we had 24 memory cards spread across the kitchen table and Theo had marker on his face.
That was two months ago. We now own a laminator.
The first generation: index cards and colored pencils
Our first homemade game was a memory game. Leni (6) drew the pictures, Theo (4) "painted" the cards (a generous interpretation). We simply grabbed A7 index cards from the stationery aisle, the kind you can get for under two euros.
The rules: draw each motif twice. Make them look as similar as possible. The latter was more of a suggestion than a rule for Theo. His two "cats" looked like a cat and a bush. We played anyway, and honestly, that was the whole point. Nobody knew whether the card was supposed to be a dog or a car, and everyone laughed.
What surprised me: the kids were completely absorbed. Not just during the crafting, but then during the game itself. Leni immediately wanted a second round, and a third. The game was hers. She had made it.
(If you also have kids who say "I don't want to play" when you suggest a store-bought game, but never say that when they've made the game themselves: welcome to the club.)
Photo memory (the perennial favorite)
After the index card success, the next step was obvious: photos. During a quiet moment I printed 12 family photos, each one twice. Holidays, pets, grandma and grandpa, the kindergarten snowman from last winter. On 160 gsm paper, because regular printer paper feels like a damp tissue when you use it as a playing card.
Leni loves this memory game more than any store-bought one. When she flips over the card with the photo of our cat Moritz, she laughs every time. Every. Single. Time.
For Theo I made a simpler version: just 5 pairs, all placed face-up, he has to find the pairs and match them together. No memorizing, just matching. It works surprisingly well as a starting point.
We now have three different photo memory sets. One with family photos, one with animals from the zoo, one with "things in our house" (Theo's idea, surprisingly funny, includes among other things "the broken drawer" and "Dad's coffee machine").
The equipment (or: how to spend 80 euros on cards)
After the fifth memory set on 160 gsm paper that had dog-eared corners after two weeks, I gave in and bought equipment. Jonas laughed at me ("For kids' cards?"). Jonas has since made a quartet game himself.
What we bought:
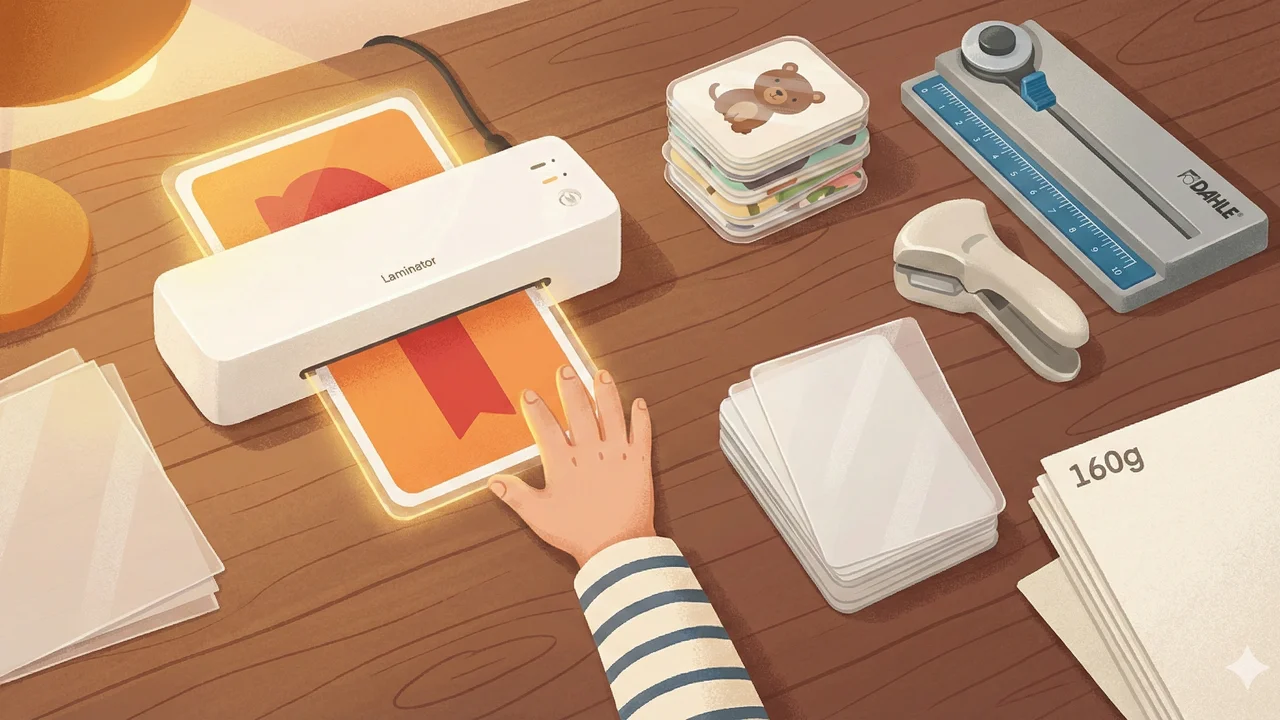
Laminator (Olympia A 230 Plus Set, approx. 35 euros): Came as a set with a cutting ruler and corner rounder. The 125-micron pouches are thick enough that the cards actually feel like real playing cards. My tip: always laminate first, then cut. Not the other way around. (I tried it the other way. The pouches stick together and you get to start all over again.)
Rotary cutter (Dahle 507, approx. 25 euros): Sounds like overkill for playing cards, but when you want to cut 48 cards straight, you lose your mind with scissors and a ruler. The Dahle cuts with millimeter precision and is even fun for Theo (under supervision).
Corner rounder (Sunstar Kadomaru Pro, approx. 18 euros): Rounds the corners just like store-bought cards. Sounds like a luxury. Is a luxury. But the cards look so good afterwards that Leni says "They're like real ones!" and that alone was worth it to me.
Total cost: around 80 euros. Plus laminating pouches, which cost about 8 euros per 100. Yes, I started a spreadsheet. Yes, it's a bit much for homemade kids' games. No, I have no regrets.
Tips I wish I'd known beforehand
A few things I learned through trial and error (and through hours of forum research on unknowns.de):
Paper: 160 to 200 gsm. Less is too thin, more and the printer often can't handle it. 160 gsm works perfectly when you laminate. Without lamination, go for 200 gsm.
Coated paper for inkjet printers. On regular paper the ink runs and the colors look muddy. Coated paper (labeled "coated" or "inkjet paper") dries quickly and the colors are vibrant.
Print setting on "Best quality". Sounds obvious, but I still forgot it the first time. The difference is enormous.
Budget trick for prototypes: Print the card on thin paper, slip it into a card sleeve along with an old playing card as backing. Costs almost nothing but feels like a real card. Penny sleeves (available from 2 euros per 100) are perfectly fine for this.
When laminating: leave margins. At least 5 mm of margin around the card, otherwise the pouch peels off at the edges and moisture gets in. Learned that one the hard way.
Matte pouches instead of glossy. Less glare, the cards don't slide around on the table, and they look more professional.
What else we tried
Animal quartet with our own drawings: 32 cards, 8 animal groups, Leni drew all the animals herself. She and I decided on the categories for each card together (size, speed, "cuddle factor"). Theo's favorite category: "How loud is the animal?" (Spoiler: the lion always wins.)
Super trumps with family members: Jonas' idea. Each family member as a trump card with categories like "shoe size", "number of ice cream scoops eaten in one go", "how long can they sit still?". Theo has the highest score for "How loud?". He's proud of it.
Print-and-play games from the internet: There's a huge community sharing ready-made games for printing. Asmodee offers official print-and-play versions of Concept Kids, Dobble and others (free, also in German). And on PnP Paradise you can find hundreds of games to browse. For us it was a goldmine on rainy weekends.
Let's Fib for printing: Speaking of print-and-play: Let's Fib has its own print-and-play mode where you can generate and print cards. So the party game we usually play on the phone (mix one truth with lies, the others have to guess, 1 to 20+ players) also exists as a card version for the table. Leni can read well enough for it by now, and we laminated a set right away. Fits the theme perfectly, and for once you don't need a phone.
Canva for the next level: If you want to move from hand-drawing to printed cards, you can design playing cards with Canva (free). There are templates for poker card size (63.5 x 88 mm) where you can add your own images and text. I used it to make a birthday present for Leni's friend: a personalized memory game with photos of their shared experiences. The friend's mom asked where you can buy it. (Priceless.)
Is it worth it?
If I'm being honest: the homemade cards aren't as pretty as store-bought ones. Theo's drawings are charming but not symmetrical. The lamination sometimes has air bubbles. And a few cards have the wrong margin.
But that's not the point.
The point is that Leni now asks "Can we invent a game?" instead of "Can we watch TV?". That Theo has his hand-drawn cards under his pillow at night (he picked his favorite memory pair: Moritz the cat, twice). That Jonas and I sit at the table in the evening designing a quartet about our neighborhood while the kids are asleep.
The crafting has become at least as much of a game night for us as the actual playing. And yes, 80 euros for equipment sounds like a lot. But we've used it to make six games so far, all of which get played regularly. Try doing that with a store-bought game that gathers dust on the shelf after the second play. If you're looking for easy family games, you'll find plenty there. And if you want to plan your next game night, there are some ideas to get you started.
(And in case anyone's looking for a laminator recommendation: the Olympia set is really good for getting started. Not perfect, but good enough. And the kids love feeding the cards in and watching them come out shiny. Theo calls it "the card machine".)
You might also like
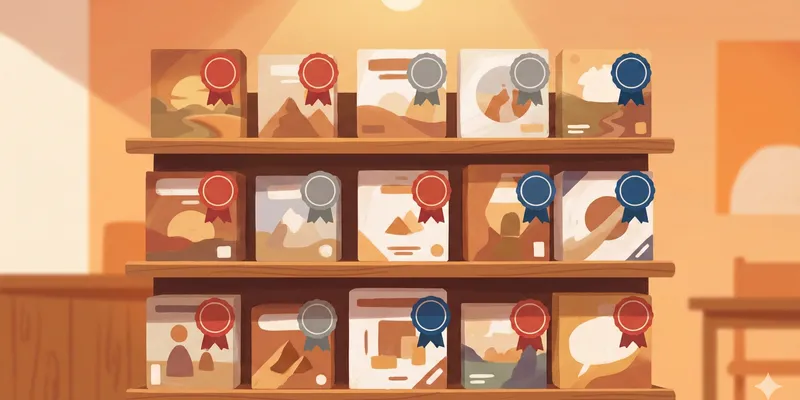
Why Every Board Game Seems to Be "Game of the Year"
Every box in the store carries that red logo. But what's actually behind Germany's Spiel des Jahres, how many games really get the award, and is it worth buying by the sticker?
Read more →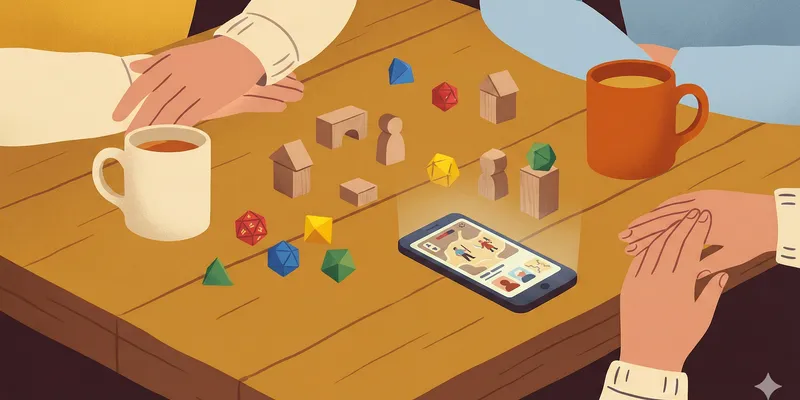
The Game Night Nobody Wanted
Everyone wanted to cancel, nobody had the energy, and in the end it was one of the best evenings in months. Why showing up is always worth it.
Read more →
Playing Games Over Video Call: Does It Actually Work?
Game night over Zoom when not everyone can be there in person. What works, what fails, and why some games actually play better remotely.
Read more →